

Wardrobe Recharge Challenge | Day 7
THE process
Style Notes
LAST DAY!
Aaaand we made it to the last day! Welcome to Day 7 of the Wardrobe Recharge Challenge!
In this step we’ll re-organize your wardrobe to make sure it fulfills its true potential.
How you manage and structure your wardrobe is a huge component of your wardrobe’ functionality and directly affects how easy or complicated it is to get dressed in the morning.
This is a process that will take you a few days to complete if you have a big wardrobe and probably a full day if you have a smallish one. But even then, you will have a snag list that will take time to put into action.
Why?
Because it is not just about tidying the rails and shelves. It’s about finding the best structure and the best layout.
I’ll give you clear steps to follow and once you are done, you won’t recognize how much easier it will be to manage your wardrobe!
Let’s do this!
STEP 1
The number 1 thing I would recommend doing for efficient wardrobe functioning is separating different segments of your wardrobe, which means keeping your workwear separate from your weekend wear and so on (whatever other segments you have).
If you wear the same clothes to work as you wear over the weekend, you can still apply the principle of segmenting to other areas of your wardrobe.
Think of your:
- occasion wear
- gym gear
- loungewear
- pjs
- and any other clothes you have that is being used for a specific purpose.
All of these things should be stored separately.
I’d recommend writing all the segments down so it’s easier to plan.
Why do you need to segment your wardrobe?
Well, have a look below and think which wardrobe will be easier to manage on a day-to-day basis. The one where you can see segments clearly separated, or the one where everything is stored together? Where you have to rummage through hangers with clothes to get to the right piece or where you have all necessary pieces stored side by side in a dedicated section?
No matter how tidy the unsegmented wardrobe is, it is still nowhere near as functional and streamlined as the segmented one.

Another huge advantage of a segmented wardrobe is that you can review it (like we did over the previous days) without causing chaos to the rest of the wardrobe.
This is also extremely useful for referencing when you are shopping. Imagine you’ve seen an item in the shops and are considering it as a potential buy. You can pull up the photo of the particular segment you are shopping for and see if the colour is going to work or what you have to go with it. (For that reason I would recommend taking photos of all your sections once you are done.)
You have to agree – it’s much easier to do that when everything is in one section instead of being scattered among dozens of other items, right?
STEP 2
Once you separate the segments, the next thing you need to do within each segment is group together the same type of items – blazers with blazers, tops with tops, skirts with skirts and so on (the image below is an example of the tops groups together).
Why do you need to do that?
Because it makes looking for a particular type of item when getting dressed hundreds times easier.
Trying to find what to wear with a pair of trousers? All you have to do is glance over the section with tops and if you want to layer on top of it, look through the section of blazers/cardigans.
Another huge advantage – clearly visible segments give you an immediate overview of what you already have and you can quickly identify what I call ‘twins’ – items that look too similar.
If you look at the image below, you can see straight away that almost half of the tops are cream and there are 2 almost identical burgundy tops. That means if you are considering adding a new top in either of these colours, you really have to questions what for – there is already a very clear surplus of them.

Another thing I want to address separately is hangers.
DO NOT hang a few items on one hanger! You’ll never be able to have a fully functional wardrobe this way. You won’t see everything at a glance (which is a must for a functional wardrobe) and will quickly forget what’s where.
Every item needs its separate hanger.
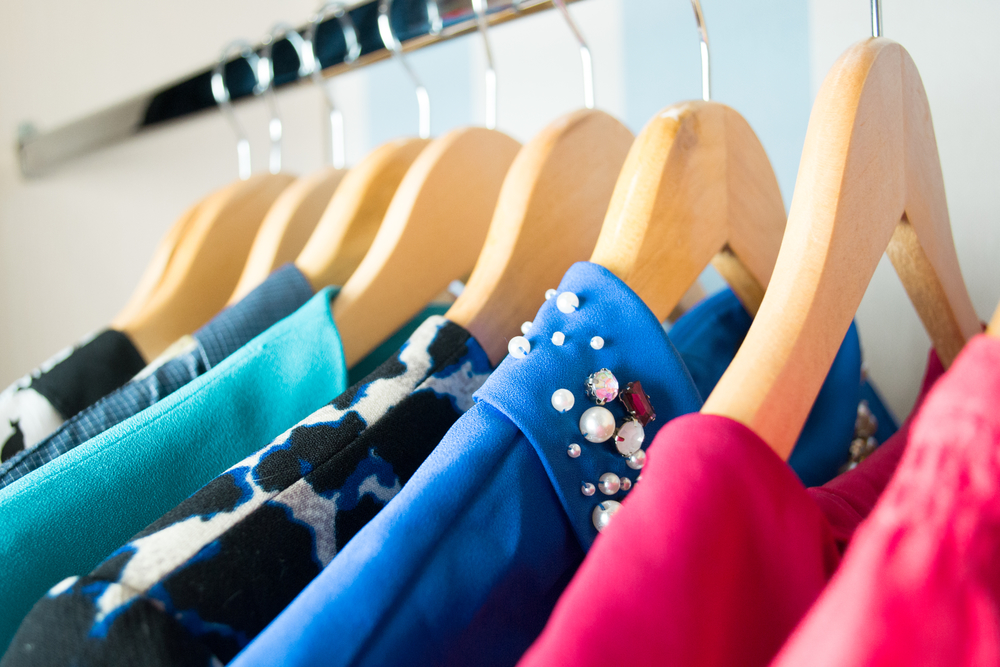
I find felt-covered hangers to be the best option. Clothes don’t slide off them, they don’t take up more space than a wire hanger, they don’t poke through fabric and don’t stretch out shoulders like plastic or wooden hangers do.
Wooden hangers are needed for heavy items that need support on the shoulders – like coats, outdoor jackets and some structured blazers. If you are tight for space in your wardrobe, do not store anything else on wooden hangers as they take up too much space for no good reason.


Plastic hangers are only safe on fabrics that don’t have stretch in them and don’t snag easily. I can’t tell you how much damage I’ve seen done to clothes by plastic hangers!
While we are talking about damage, do NOT store anything on wire hangers! They are not meant for regular use. Only for keeping clothes crease-free while you bring them from dry-cleaners. Those hangers won’t do much damage to mens shirts, but fabrics in women’s clothes are a lot more delicate.
You can see below how wire hangers are poking through the knits. I’m sure you’ve seen it happen in your own wardrobe – you take something off a hanger and there is a big bubble on the shoulder. These are close to impossible to get rid of as the fibers are damaged and stretched out.
Felt hanger don’t put any pressure on any particular spot because of the curve and don’t stretch the fabric.

I would also highly recommend getting matching hangers. It gives the wardrobe a boutique vibe, makes it visually a lot more organized and really helps to see things clearly.
It’s not a significant investment (Dunnes do 10 hangers for 5 euro and you can order bigger quantities on the likes of Amazon), but it goes a really long way!


I would also address how you store clothes on shelves and in drawers. Make sure you have dedicated space for different segments and have different types of items in separate sections.
Do NOT store anything just by simply placing it on a shelf or in a drawer. You will very quickly upset the piles when taking things out, and before you know it, the contents of the shelf or the drawer turn into a mess.
Use storage boxes and shelf dividers to keep your shelves neat and tidy and get storage boxes for your drawers as well.
The best way to do it is to first evaluate the amount of clothes you’ll be storing there, then measure the area (shelf or drawer) and calculate what size boxes you need. Don’t just go buying random boxes as the chances are half of them won’t fit in (make sure to take the height of boxes into consideration if you are getting them for drawers – you need to make sure they will fit in).


STEP 3
Once the wardrobe is segmented and each segment is grouped by the type of items, it’s time to address your accessories.
When it comes to organizing shoes, bags, jewellery, I’m a big believer in the saying – out of sight, out of mind.
When you can’t see something right in front of you, you’ll quickly forget what you have. So you need to make sure that everything you own that has the possibility to work over the coming weeks is well displayed.
Let’s start with shoes.
The most convenient way by far is keeping shoes on a shelf. If the space allows, get a tall bookcase unit from the likes of Ikea (like this one) and have your regularly worn shoes displayed that way.
This is the cheapest alternative to a custom-built wardrobe.

If your space doesn’t allow to bring in shelving, we’ll have to be a bit more creative.
There are lots of ways of organizing shoe storage, so just think through which one will work best for you.
The best way to do that is to gather all the shoes you’ll be wearing for the next couple of months to get an idea of the amount of space needed. If you are getting shoe organizers, you’ll know for how many pairs.
If you don’t have that many shoes, you can even keep them on the floor next to the wardrobe.
There are 2 key aspects to keep in mind:
- Shoes should be easily accessible and close enough to your wardrobe.
- Storage has to be safe – you need to eliminate any risk of scratching or getting dirty from rubbing off other shoes.
I have a few ideas below to help you decide, you go with what will work best for your own space.


A functional wardrobe is all about conscious and mindful management – you address each of the components and come up with a clear plan for their management.
I’ll give you another example – jewellery.
I meet so many clients who are not wearing it. The reason is really trivial – they don’t have their jewellery properly displayed and organized so over time go off wearing it.
Think about it – if you have your jewellery sitting in a box and the box is sitting somewhere in a drawer, how likely are you to get something out of it every morning? Not very likely, let me tell you!
But once your jewellery is well displayed, it takes seconds to pick the right piece and seconds to put it back at the end of the day.
I find jewellery trees, busts, jewellery trays and custom-modified drawers (these are handy when you have small kids and there is a chance of them pulling something down).
Custom drawers don’t require any specialist involvement – you can do it yourself. Simply measure the size of the drawer and look for velvet trays online. Calculate how many you need and how you’ll stack them and voila, you have a DIY instagram-worthy jewellery display.
You can take these small projects on while you have the time as you can order the props online.
But can you see why I was saying that proper wardrobe organization doesn’t happen overnight? Things like display and storage can take time.
I have lots of ideas for you below to get your creativity flowing.


Do the same process for your other accessossies such as bags and belts. Find the best storage and display solutions for your current set up.
You will see how everything will transform once things are clearly displayed and how much easier it will be to get dressed!
We’ve approached the end of the challenge, but I encourage you to not stop here.
Keep an eye on your wardrobe to see:
- if you can spot new combinations
- if you discover something else that is not being worn or not worn to its full potential
- if you can come up with better ways of organizing, storing and displaying your clothes
Keep working on your moodboard and evolving your style:
- to find new ideas to bring into your wardrobe (TLC will do that for you)
- to find new styling solutions (I’ll help you with that tomorrow)
- to finetune the direction you want to take your wardorbe in
Give yourself a big pat on the back if you’ve done all the exercises and stayed on track! You will be really glad you did, just take my word for it!
I’d love to hear your feedback about the challenge!
What was the biggest challenge for you?
What was the biggest eye opener?
What was the hardest step?
If you have a minute, please drop me an email or a message on social media! I’d be delighted to hear from you!
See you tomorrow! xx